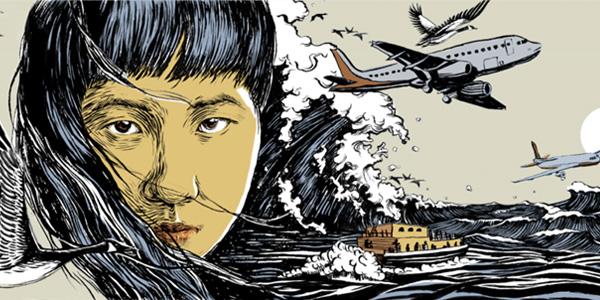
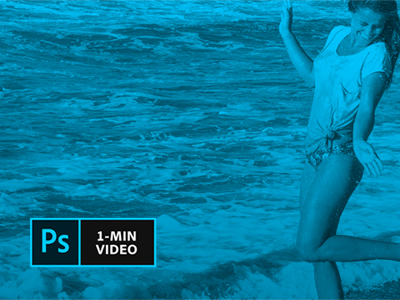
Give a vibrant new hue to your photography by colorizing the image in Adobe Photoshop. Recoloring images and photographic elements are common practices used to lend another layer of artistry to an image. Graphics for music albums, movie posters, or book covers might colorize body parts and cut them out over a contrasting background. You might see Spotify playlists with duotone imagery. It’s also a common element in digital collages (explained in more detail here). One of the reasons for this effect’s popularity is its ease of execution. There are a variety of ways to create this effect in Photoshop, but this tutorial will explain the most common methods: a simple one-color effect called “colorize.” For a more complex, two-color effect called “duotone,” see this tutorial instead.
How to Colorize or Tint an Image
- Open the image in Photoshop. If you are only cutting out part of an image, do your cutout first. The best method is to create a mask with black covering the parts you want to hide and white covering the parts you want to show. Learn more about masking techniques and how to cut out an image.
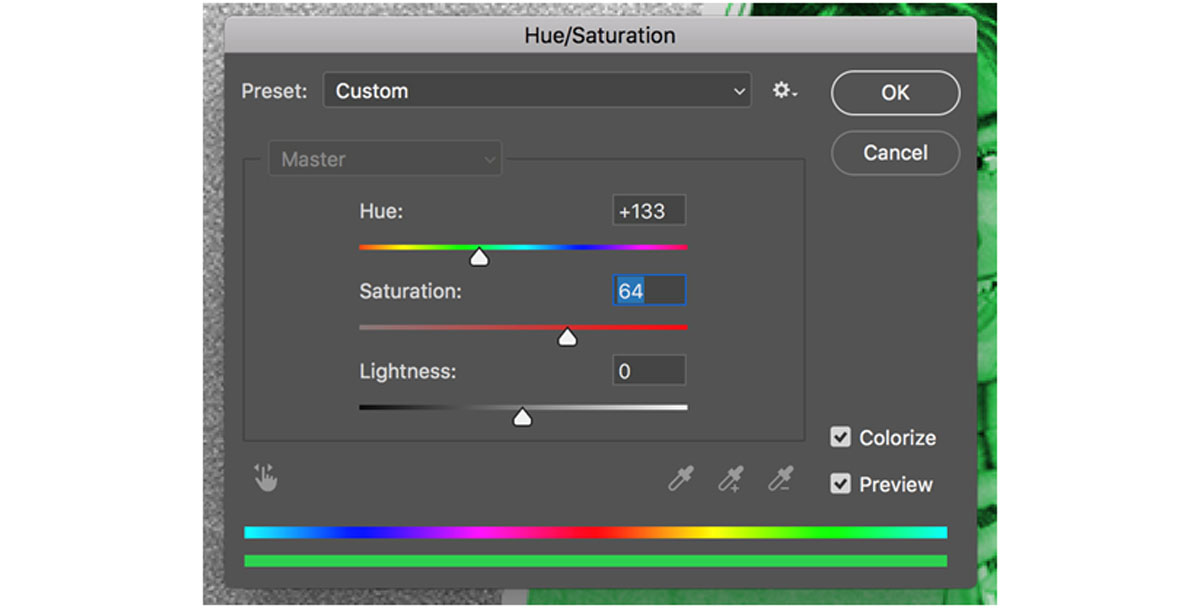
- Go to Image > Adjustments > Hue/Saturation. Make sure you have your photo layer selected. (If there is a mask on the layer, make sure you’re not clicking on the mask instead!) This effect is removable, so no need to copy the layer to preserve its original color.
- Check the “colorize” box at the bottom of the menu. Adjust hue, saturation, and lightness.
You will notice that, by default, Photoshop will give the image a red, muted tone. Boost the saturation and adjust the other sliders to achieve your desired color.
- (Optional) Go to Image > Adjustments > Brightness/contrast. Colorizing an image reduces all of the colors to one hue, which can make the image seem more dull than it would have been otherwise. To amplify the effect, you might want to boost the contrast and brightness of the image in this window.
- To edit the effect later, double-click the Hue/Saturation tag in the layers panel. If you expand the layer view to see all of the effects you have applied to the layer, you’ll notice that Hue/Saturation and Brightness/Contrast appear with eyeball icons beside them. Press the eyeball at any time to show/hide an effect. You can also double-click the effect itself to change the settings you created earlier.
If you enjoyed colorizing, try using the effect in a project! Try designing your own social media posts using Adobe Spark, creating a digital collage right in Photoshop, or making custom laptop stickers in Illustrator. Are you a current student? See how you can save over 60%.