

One annoying habit of being a proud graphic designer is being fluent in key commands… but nobody starts out that way. As I was first learning how to use Adobe software, I thought key commands were pointless. Why would I need to memorize odd shortcuts to do random things when I could just click on buttons or find things in the menu? After spending hours and hours in the programs, though, I became an avid user. Having keyboard shortcuts made workflow faster and made me feel like I was really getting the hang of design programs. Of course, they’re only helpful keyboard shortcuts if you know them! And if you’re sort of teaching yourself without a formal tutorial program (like I started!), you might not know all of the good ones. You might hit the wrong keys; you might accidentally find new ones. Here are a few of my go-to keyboard shortcuts that I found completely by accident. Maybe you, too, will realize you’ve stumbled upon one or two!
- Photoshop: Quick mask mode (Q)
If you’ve ever accidentally pressed a key that made your Photoshop screen turn red-tinted, you’ve entered the mysterious Quick Mask Mode. To use it, you just have to press the Q key. In this mode, you can draw over anything on the image and it will turn red. When you press Q again to exit Quick Mask Mode, the areas you selected appear outlined in “dancing ants” or your usual marquee outline—and you can click the mask button and boom! The background is gone.
Never created a mask before? I won’t get into all the details here, but they’re the ideal way to make cutouts without deleting parts of an image.
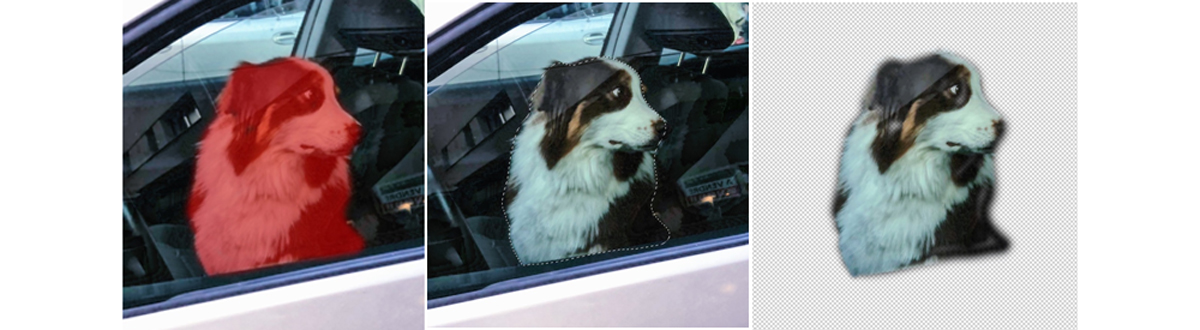 In Quick Mask Mode, everything red will get grouped into a marquee tool when you exit. This makes it super easy to create a mask.
 - Preview modes (W, tab, ~, depending on program.) Okay, so I didn’t find all of these by accident…but each Adobe Program has a different key command that allows you to see your image, video, or document filling the full screen. On InDesign, press the W key to see a document without guides or bounding boxes. Press shift+W to see it fill the screen. You can press the arrow keys to move through a multi-page document and use the escape key to leave this preview. On motion software, like Premiere Pro or After Effects, press the ~ key to enlarge your preview window to fill the whole screen. You can also enlarge any other section of the window, so it’s useful for quickly enlarging the timeline if you need to! Press ~ again to return to normal. On Photoshop, press the tab key to hide all the menus and preview just your image, pinching the screen to zoom in or out. Press tab again to exit. And finally, on Adobe Illustrator, the command is Option + Shift + Command/Ctrl + Y. Admittedly, I’ve never used this one. But as someone who sometimes likes to see the file without sloppy edges and pixelated fast drafts, knowing how to quickly toggle in and out of these preview modes is a game-changer.
- Rescale with the alt key
When I say I use this on a daily basis, I’m not kidding—I don’t ever rescale without it anymore.
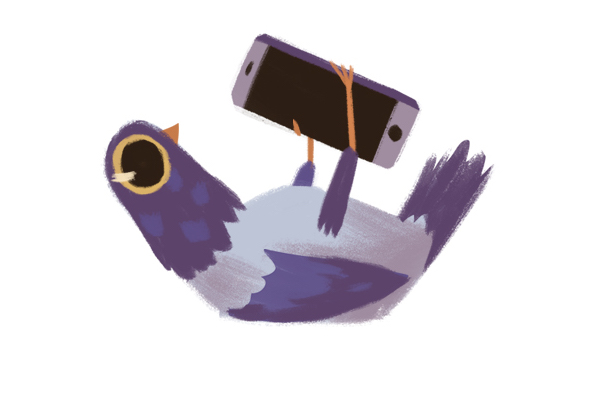
To rescale a photo or shape in InDesign, Photoshop, or Illustrator, you’d usually grab a corner, hold down shift, and make it bigger or smaller. Well, if you also accidentally press “alt,” you’ll notice that it stays centered when you rescale it.
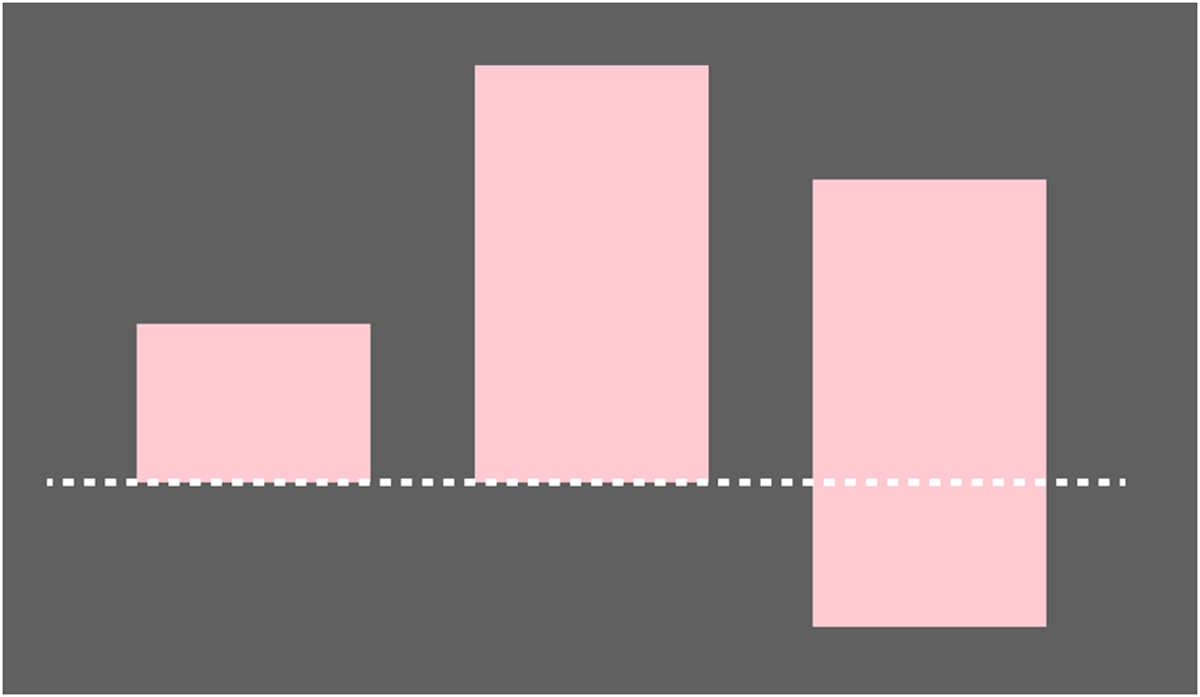 Image before rescaling; image when scaled without “alt” held down; image rescaled with “alt.”
 - Temporary Photoshop grayscale (command/ctrl+3) I am an avid screen-shotter. I have a tendency to screenshot versions of my Photoshop files to show people instead of just saving the file. Before I knew this key command, I used to accidentally turn my images grayscale all the time and then I couldn’t figure out how to fix the image. (Apparently this is a common problem…click here to see the Adobe Support column that helped me finally realize what I was doing.) It turns out, I was pressing command/ctrl+3, which will temporarily remove the color channels from an image, showing it in black-and-white. Of course, the key command to actually grayscale an image in Photoshop is command/ctrl+shift+U. However, if you do this to your file and continue making changes, there’s no way to bring the color back later. For that reason, I prefer using command+3 unless I actually want something in grayscale. This command is actually just “switching color channels,” but I use it to quickly check the tones of my image without irreversibly making anything black and white. To return to full-color mode, just press command/ctrl+2.
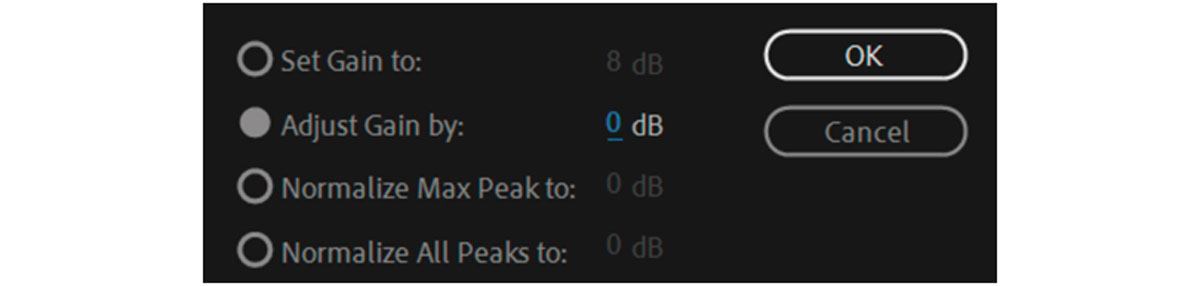
- Gain level in Premiere Pro (G)
Pressing “G” on a video clip in Premiere Pro will bring up the gain level. If you type “5” into the “adjust gain” window, the whole clip gets a little louder. “-5,” and it gets quieter. In my opinion, this is the fastest and easiest way to adjust the volume level!
Click here to read more about adjusting the volume of a clip.
- Reduce layer view in After Effects (U)
If you’ve been using After Effects without this one, I feel apologetic that I couldn’t tell you about this keyboard shortcut any sooner.
With every object having transform options and masks and effects, there is already so much going on in the After Effects timeline. I constantly press “U” with one (or more!) layers selected to reduce each of them to only show the keyframes. Press it again to expand or compress.
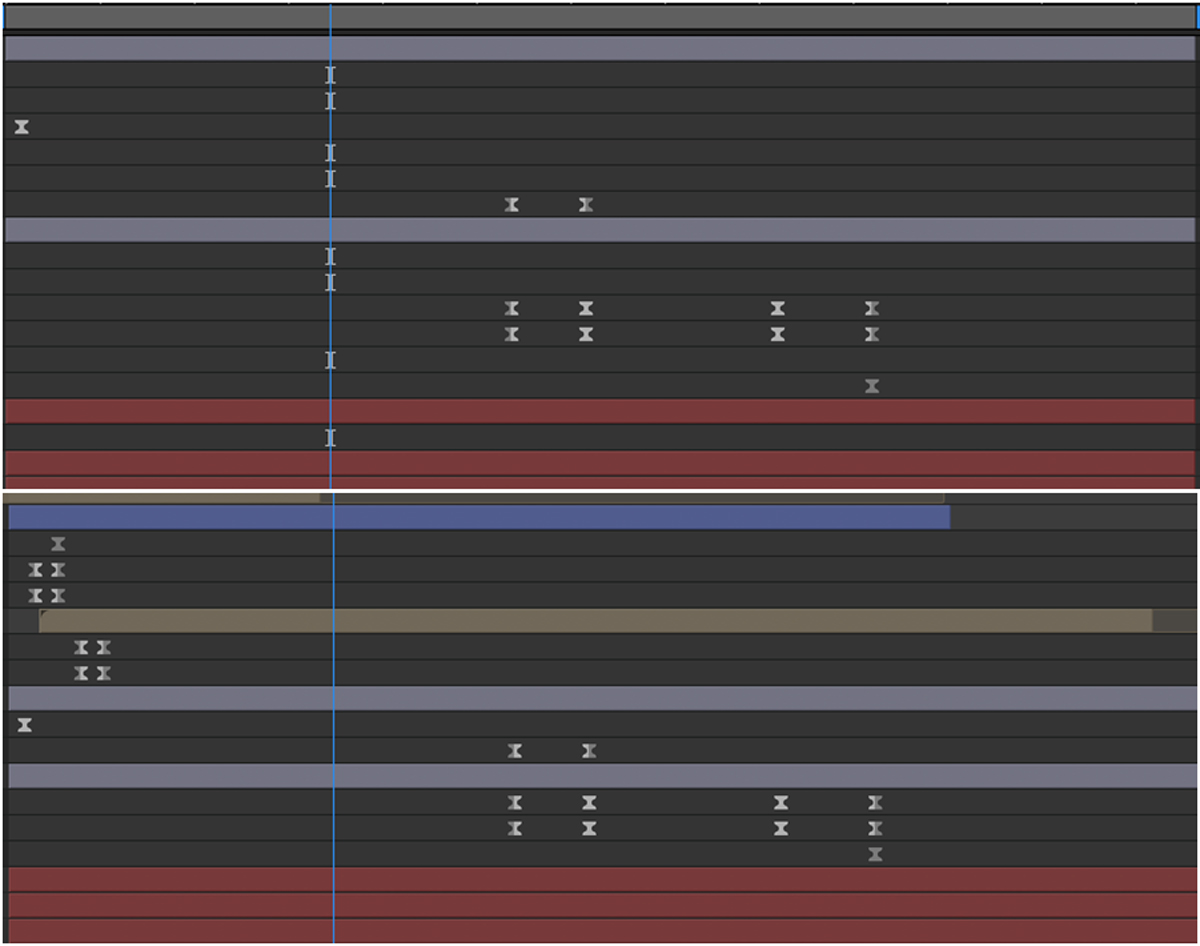 Before and after pressing U on these layers...See how many more I can see on the right?
After Effects is full of its own weird, unique, and useful keyboard shortcuts that other programs don’t have. To get a full list, see this guide. To get a full list, see this guide. Are you a current student? See how you can save over 60%.