


It’s time to get organized! By learning how to make a planner for school on Adobe InDesign, you can customize it in whatever way works best for you and your schedule. School is in session—and that means routines, homework, activities, and to-do lists. While you could buy a planner at your favorite office supply store to keep track of all of this information, it’s sometimes nice to customize one yourself. When creating your own, you can decide how much space you give yourself to write for various categories. Plus, you can plan the way that works best for you, whether that is monthly, weekly, or daily. Building a planner is fairly easy in Adobe InDesign. This tutorial will show you how to create your own yearly planner from scratch. However, if you only want to plan for one week or one month, you can always print off a couple pages from this tutorial instead of completing the entire thing. Now, let’s begin! How to Make Your Own Planner
- Plan the planner!
Chances are, you’ve probably used a calendar, planner, or to-do list in the past. Think about what formats you like. Most planners are organized chronologically, with month views and then daily views. However, you can design it however you would like! Do you find it helpful to see the month at a glance? You might want to make some calendar pages. Do you like having a full page for each day, so you can write massive lists of tasks, or do you prefer to see the full week on one page to better prioritize deadlines?
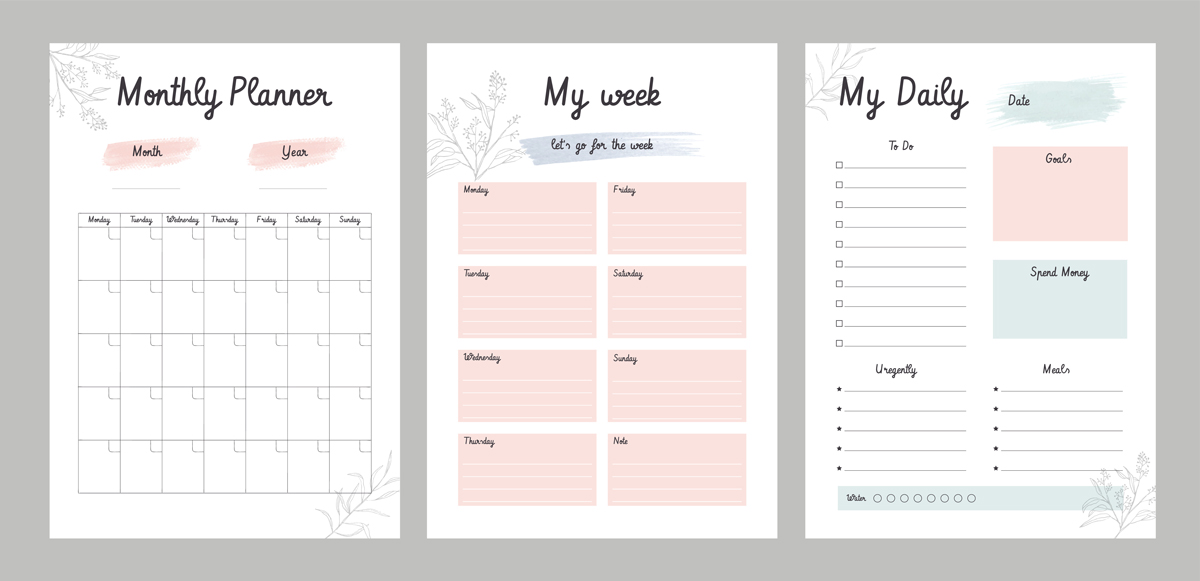 When designing your planner, you can choose between monthly, weekly, and daily organizational methods—or use all three!
Also consider how you’d like to organize the pages. Do you want a page for each class you are taking, or a page for an increment of time (day, week, month)? Do you want extra space for any sports or clubs you’re in? Extra space to make quick notes? Since this is your own planner, you can add any additional features that come to mind! You can add a special page to keep track of your friends’ birthdays. You can make space to write an inspirational quote every week. You can keep track of how many hours of sleep you get, how many hours you spend on your phone, or how much time you spend with friends and family. The possibilities are nearly endless! Check out bullet journaling or “bujo” on Pinterest and Instagram for more inspiration on ways to organize a planner—and fun pages to add. - Set up your InDesign document. Once you’ve decided how you want to design your school planner, it’s time to build. Open InDesign and create a document with the number of pages you have decided to create. (For a standard planner, with a cover page, back cover, one page for each month, and one page for each week, you’d need 66 pages.) If you’re printing your planner at home using normal paper, you can use the standard print dimensions of a 9.5x11 sheet of paper. If you want to make larger pages and keep them in a binder or folder, you can design one page on each sheet of paper. However, if you want it to feel small and fold into a book-like shape, try setting up the document “landscape style” and designing two “pages” on each sheet of paper.
- Add page numbers (and any other consistent elements) to the master.
Master pages allow you to add one thing to every single page in your document. To access the master, go into the “page” window (if it doesn’t show up by default, go to Window > Page). Double-click on the page preview, as shown.
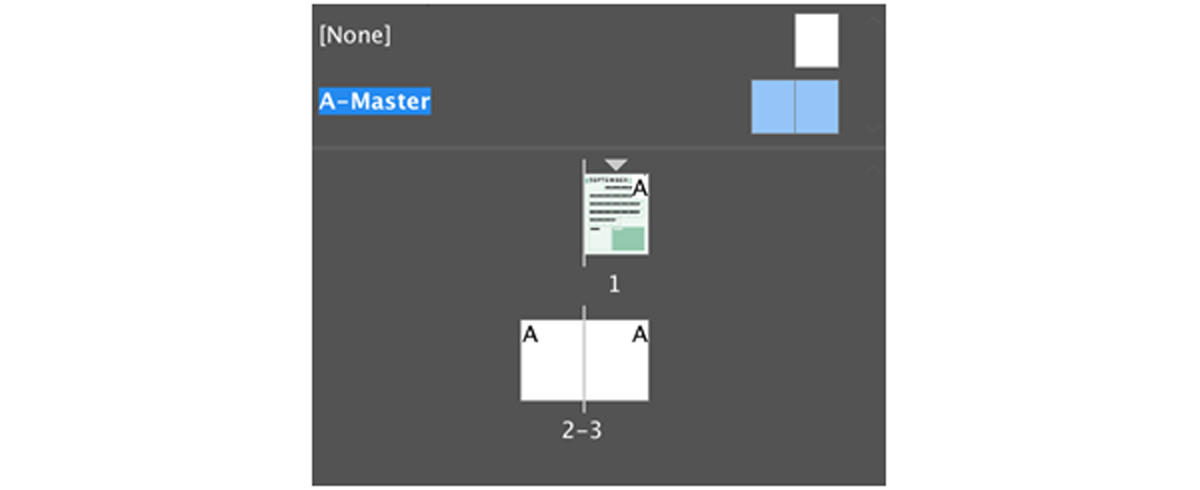 Double-click on the small pages to open the master and double-click the larger, numbered pages to return to your document.
If you had started designing, you might notice that the page turns white. Your design isn’t gone; you’ve just opened the master! On this new white page, you can design whatever you want—and it will show up on every single page of your document. If you set up your document using “facing pages,” you’ll have a different master for the right and left sides of a page spread. On the master, draw a text box in one of the corners. Go to Type > Insert Special Character > Markers > Current Page Number. This will add the correct page number to every page of your document. On the master, it will show up as “A” or “B.” You can change the font and size of this before exiting the master. (Confused? Learn more about master pages here.) If there are any other elements that you would like to remain consistent on all pages, like your name or perhaps a colored bar across the bottom or top, you can add those here as well. Then, to return to your document and start designing the rest of your planner, double-click on the large, numbered pages in the page window. - Build your page using rectangles and text boxes.

 Not sure where to start? These pages act as simple calendars with room for notes at the bottom.
Using the shape tools, you can create boxes to neatly organize your text in the planner. You might want to open the “align” window to help line up and evenly space your shapes. You can also draw text boxes to add numbers and labels. I even changed the color of the page as well, but if you want to print this at home and save ink, opt for white backgrounds. - Copy page layouts using “paste in place.” If you’ve already gone through the trouble of building a beautiful to-do list or calendar, you don’t have to start over on the next page. Copy your layout and paste it using “paste in place” (command+option+shift+V on a mac, ctrl+option+shift+V on a PC). You can also select all of the elements, hold down the alt/option key, and drag them to quickly make a copy. (By holding down shift, you can keep them on the same axis as well.)
- Print your finished planner.
Most pharmacies and office supply stores offer to make spiral-bound notebooks and other prints from your files. However, you can often print off your pages just as easily at home for free. Secure them together with staples or use a three-hole punch to add them to an empty binder.
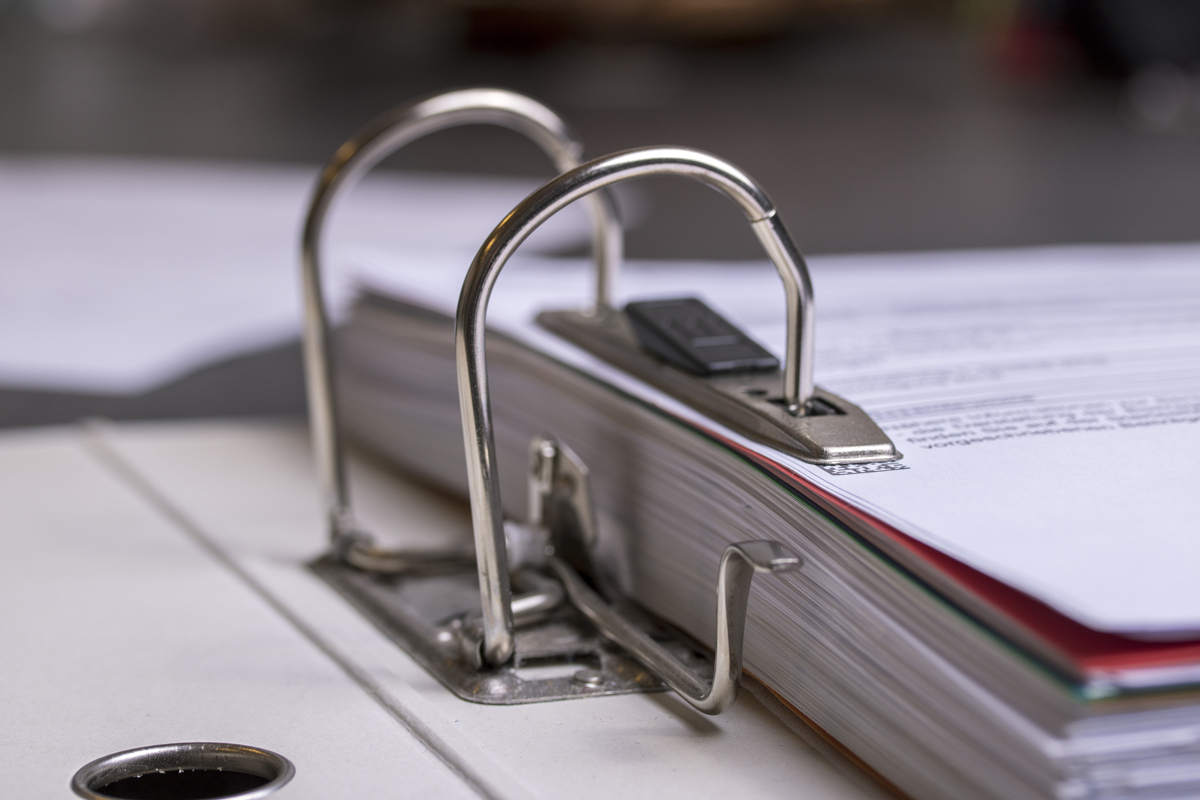 You can print your planner and store the pages in a spare binder.
Adobe offers templates online for common projects like calendars and business cards. Learn where to find templates and how to implement them here. Are you a current student? See how you can save over 60%.