
Rock your next presentation at school or work with these photo editing basics.
Captivating photos are a powerful way to communicate. Not only do they support your ideas; they can also stir emotions and inspire action. Whether your next presentation is for a class assignment or for your internship, learning how to edit photos can have a big impact on your entire message.
Let’s look at some photo editing tips for beginners who want to level up their skills. In this post, we will show features available in Adobe Photoshop.
How to Edit Photos for Beginners
- Select a photo editing software. In order to get amazing images for your presentation, be sure to choose an editing program that works with your devices. Adobe Photoshop is an editing app you can use on a desktop or laptop, and you can save your work to the cloud and pick up right where you left off.
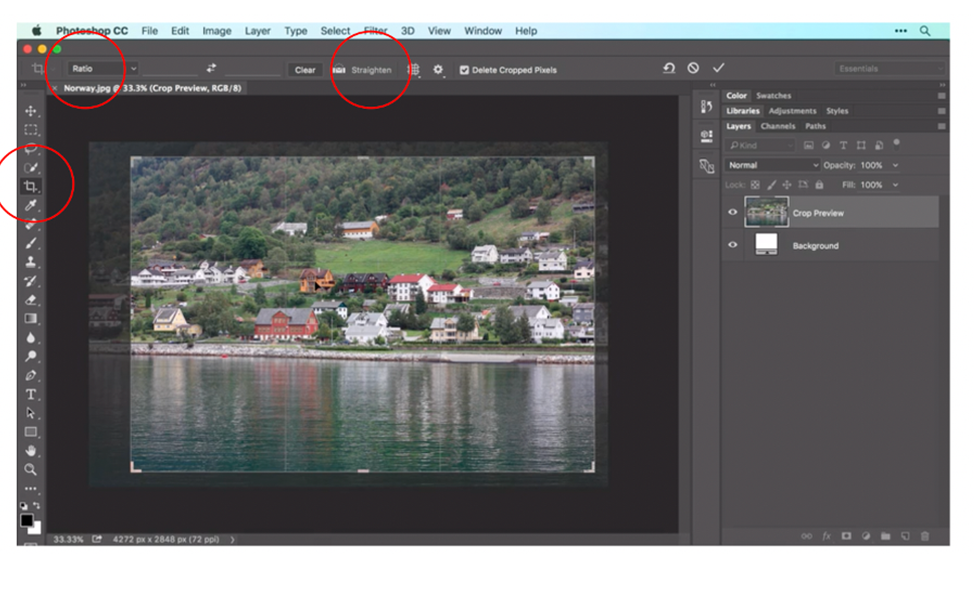
- Crop or resize an image. The Crop tool helps you shape or size an image, or even trim the edges of a photo. You can resize a photo for print or online by clicking on the Ratio menu at the top, and the Straighten function to straighten your photo.
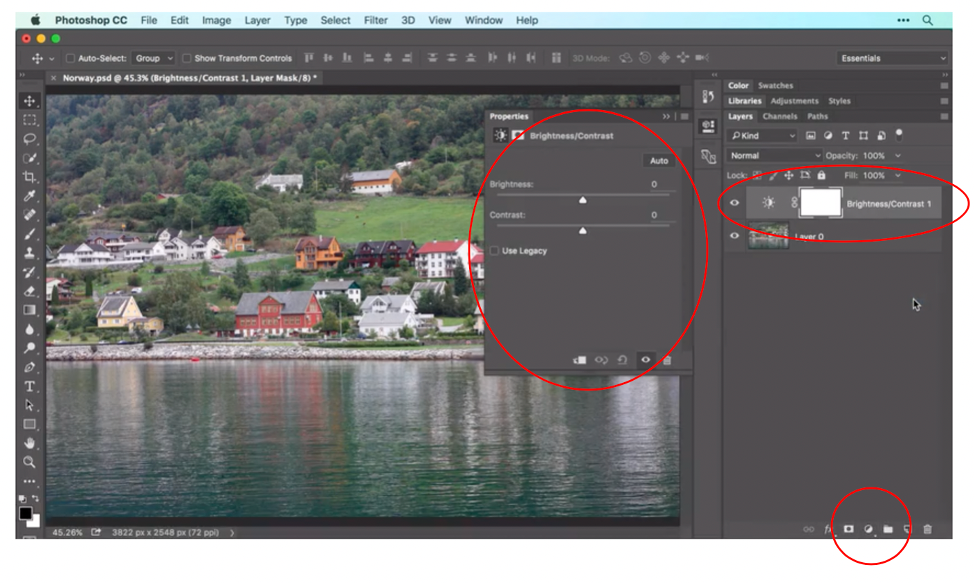
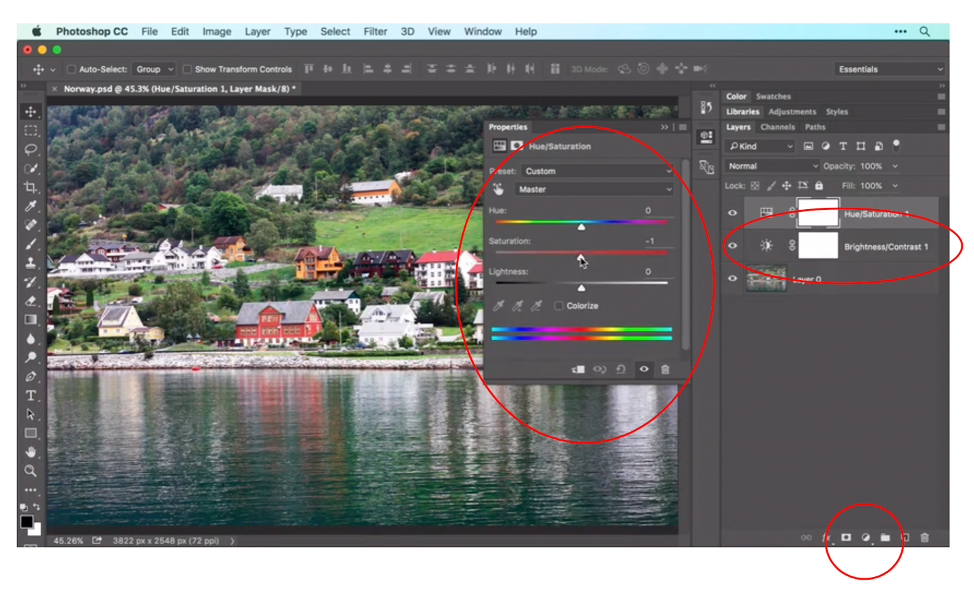
- Adjust lighting and color. Adobe Photoshop uses layers to help you make adjustments to your photos without editing the original image. To adjust the Brightness or Contrast, click on the half-black, half-white circle at the bottom of the screen, and choose “Brightness/Contrast” from the menu. This adds an adjustment layer and sliders to increase or decrease the Brightness or Contrast.
- Remove objects. When you want to remove items from an image, you can use the Spot Healing Tool. Click on the Layer tool at the bottom of the screen, select the Spot Healing tool on the left, make sure Content-Aware shows at the top, and click the box next to “Sample All Layers.” Then, use the brush to surround the object you want to remove, and click enter.

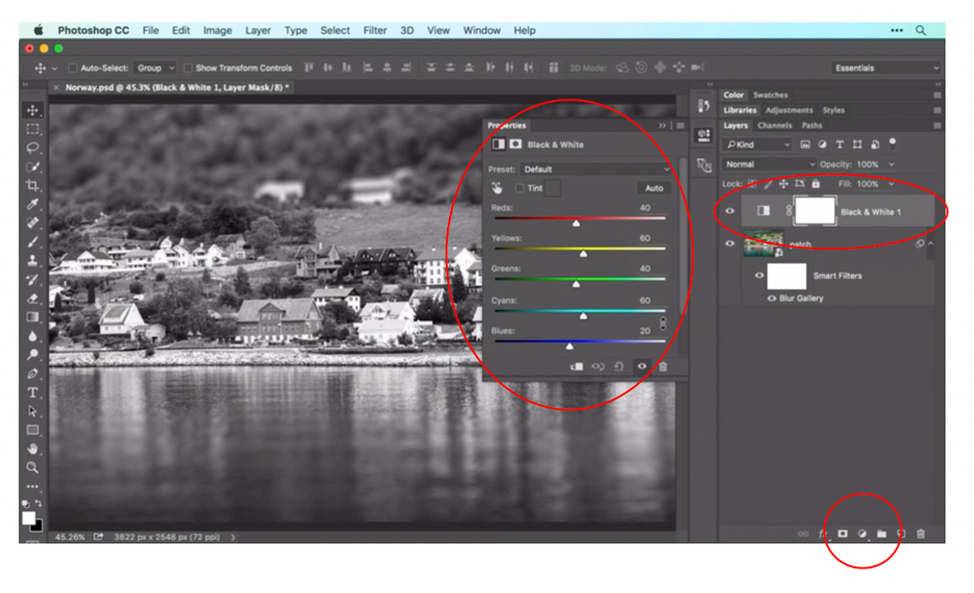
- Make your photo black and white. To change your color photo to a black and white version, click on the half-black, half-white circle at the bottom, choose “Black & White” from the menu, and adjust the sliders on the screen to get the look you want.
- Save your photos. Once you learn how to edit photos using these basic steps, it’s time to save your edited photos. If you are going to use the images as part of a digital file for a presentation, then you can easily save them as .jpg files with Medium quality. For printed photos, select High quality.
Now that you have these photo editing tips for beginners, you may want to incorporate your new photos with these creative class presentation ideas. Or, you can reference the tutorial that inspired this post, and learn even more photo editing basics.