

This year, give the best gift of all to your family: homemade holiday cards! The holiday season approaches, and that means lights on trees, winter-themed displays in department stores, decorations in every yard, and stacks of holiday cards circulating between friends and family. Because so many families send out holiday cards, you might be concerned about using the same online template as someone else. Lucky for you, this tutorial will help create your own DIY holiday cards in Adobe InDesign. How to Make Your Own Holiday Cards
- Create an 8 x 5 inch file in InDesign. One go-to strategy involves designing cards in InDesign and printing them at Walgreens or CVS, but you can use whichever method works best with your resources. (Maybe you have a printer and cardstock at home—or have access to a printer at your public library or school.) Before you begin, check to see what size cards or paper you will be using. Input this as the dimension for your InDesign file. Common card size is 8 x 5 inches. You can type inches directly into the InDesign dimensions box, even if it defaults to pixels or picas. Most cards are also formatted horizontally, but you can always make a vertical card if you would like to be unique.
- Add a background color.
 This homemade holiday card uses a wood texture for the background, instead of a solid color.
 - Add your holiday photo(s).
Now, for the most exciting part! Drag your photos into InDesign and arrange on the card. You can look at old holiday cards or online templates for inspiration, if you’re stumped on how to lay everything out. You can play around with making a grid of photos if you’d like to include more than one.
 Traditional design puts your photo elements in the center and then organizes text on the outside of the card. Modern or nontraditional design often puts photos on the outside of the card, placing text in the focal point.
In InDesign, resizing the photo and resizing the box it is in are two separate commands. You can adjust the size of the box at any time by dragging the borders of the rectangle. To adjust the size of the photo within the box, double-click the photo until you see an orange outline around the photo and adjust the size of that, holding down the shift key to keep proportions from becoming distorted. To get a more in-depth explanation of using pictures in InDesign, see this article. - Type out your information and select a suitable font.
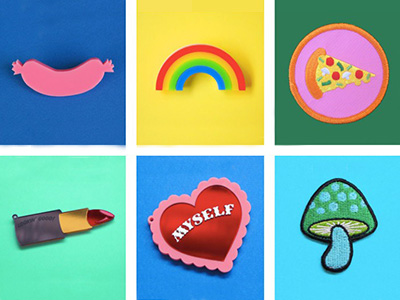
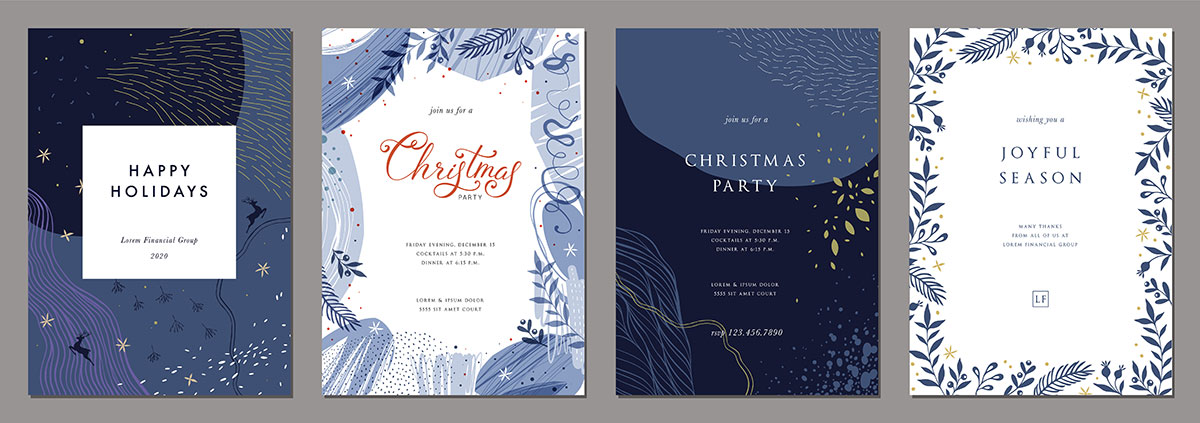
 There are a lot of different slogans you can use to decorate your DIY holiday card.
 A lot of cards combine a script (cursive) font with a serif (font with little feet).
 - Optional: draw design elements.
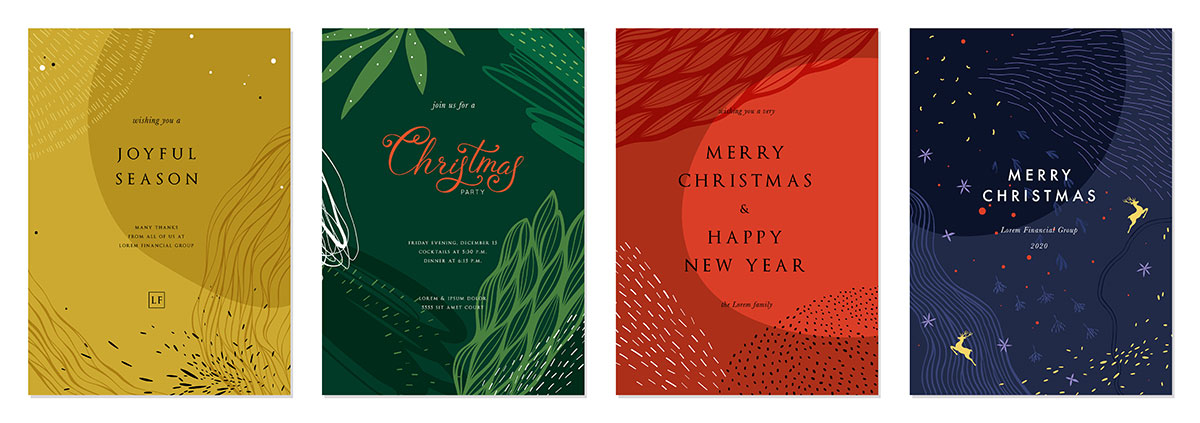
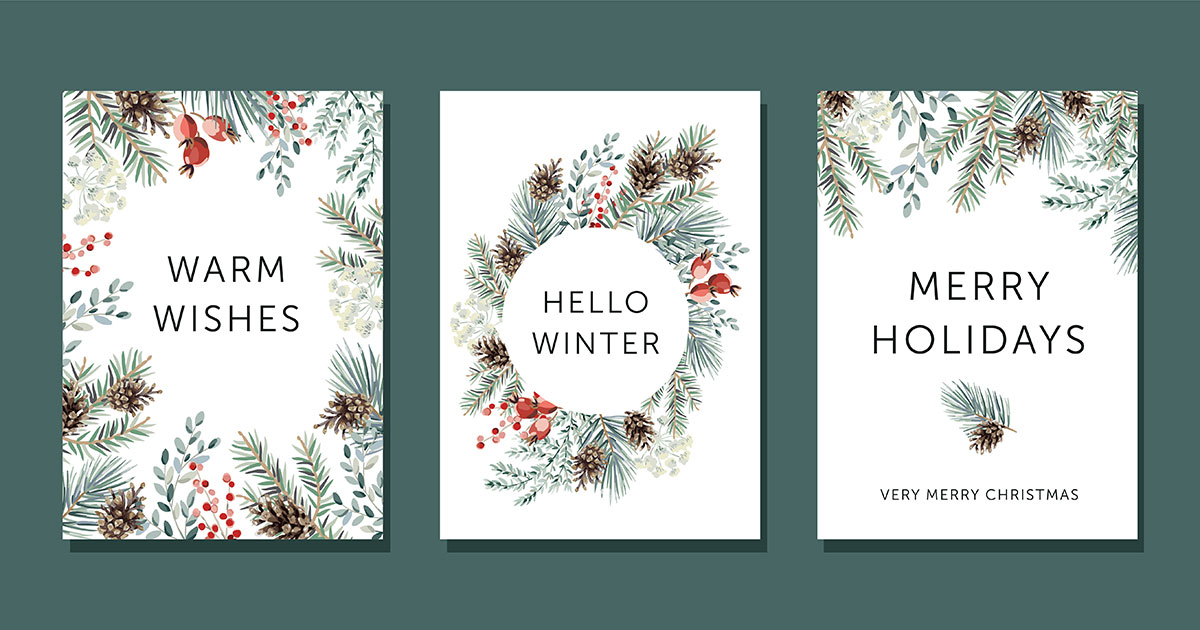
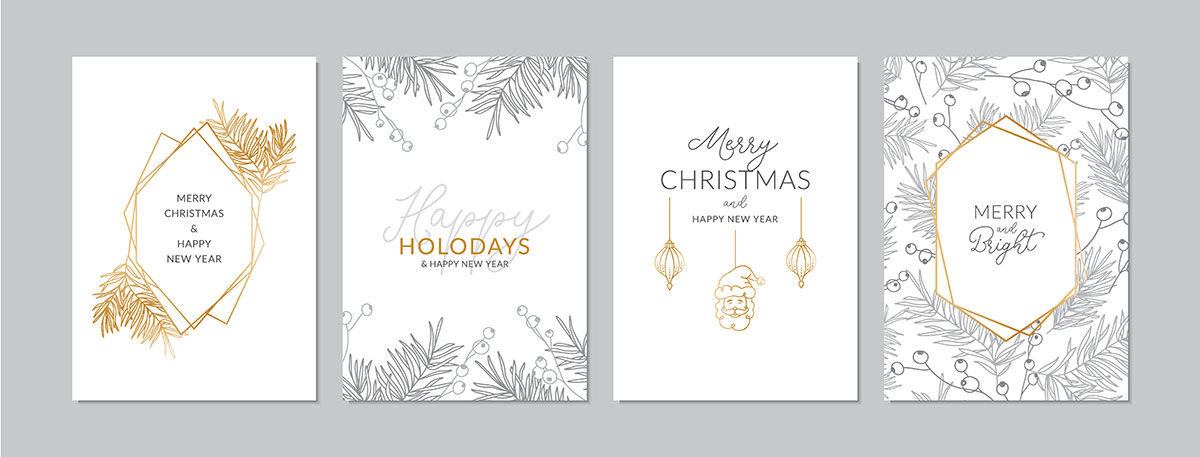
If you are artistic and want to mess around with creating imagery in Illustrator, Photoshop, or other software, it’s often a festive and pretty way to add elements to your holiday card. Try making simple line drawings in a single color. Or, go a bit more complex and use a watercolor style. Some examples are provided below.
- Print the cards. With your card complete, it’s time to print! Make sure you toss in some extra copies. You’re going to want to send these beautiful creations all over the country! If you enjoyed the process of making your own holiday cards, check out this video tutorial on creating postcards to learn even more about InDesign basics. Or see this article to learn how to make your own graduation announcements!
Are you a current student? See how you can save over 60%.