

Use this guide to edit your graduation photos into timeless classics. If you are planning on shooting your graduation photos at home or with a friend, you will need to know some basic editing techniques to finalize your photos. Using Adobe Lightroom or Photoshop you can put all the final touches into your photos that will move them from mediocre to wall worthy. Creative Cloud is the easiest and most efficient way to edit your photos into a professional looking quality.
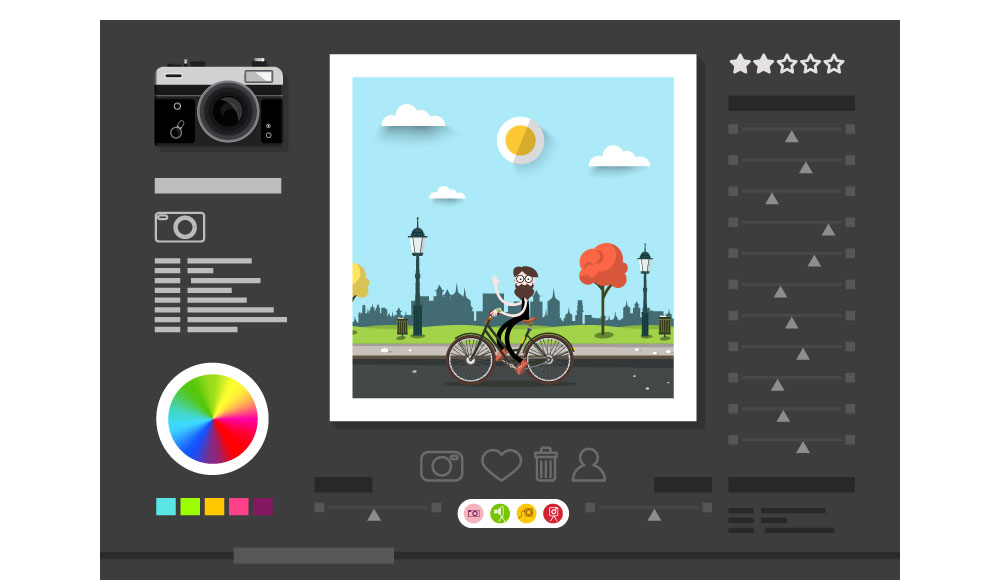
- Organize your photos with Adobe Bridge. Before you start editing photos, think about which photos you would want to share by going through Adobe Bridge and assigning them a star rating.Once labeled, you can organize your photos by their rating and import them into Adobe Lightroom.

- Assess and iterate. You’ll get the most out of editing your photos if you have a specific idea of what needs to be fixed, retouched or tampered with. There’s plenty of time to play around with each photo to tweak the specific details, but you might get lost without at least some sense of what needs to be changed. How’s the light? The color? Maybe you have one stubborn pimple that needs to be brushed over? Is the background underexposed?
- The best place to start is in Adobe Lightroom. Adobe Lightroom will allow you to mass edit photos efficiently and effectively. Photoshop will give you a lot more control, but if you're trying to save time, or if a few of your photos need the same kind of edits, Lightroom is the best place to start.
- Workshop the crop. Cropping is the best way to start. Ask yourself-- what sort of dimensions are you looking for in your photo? Does the background add or detract? Does the top of your head have room to breathe? Play around a little with straightening and cropping until you figure out what works best.
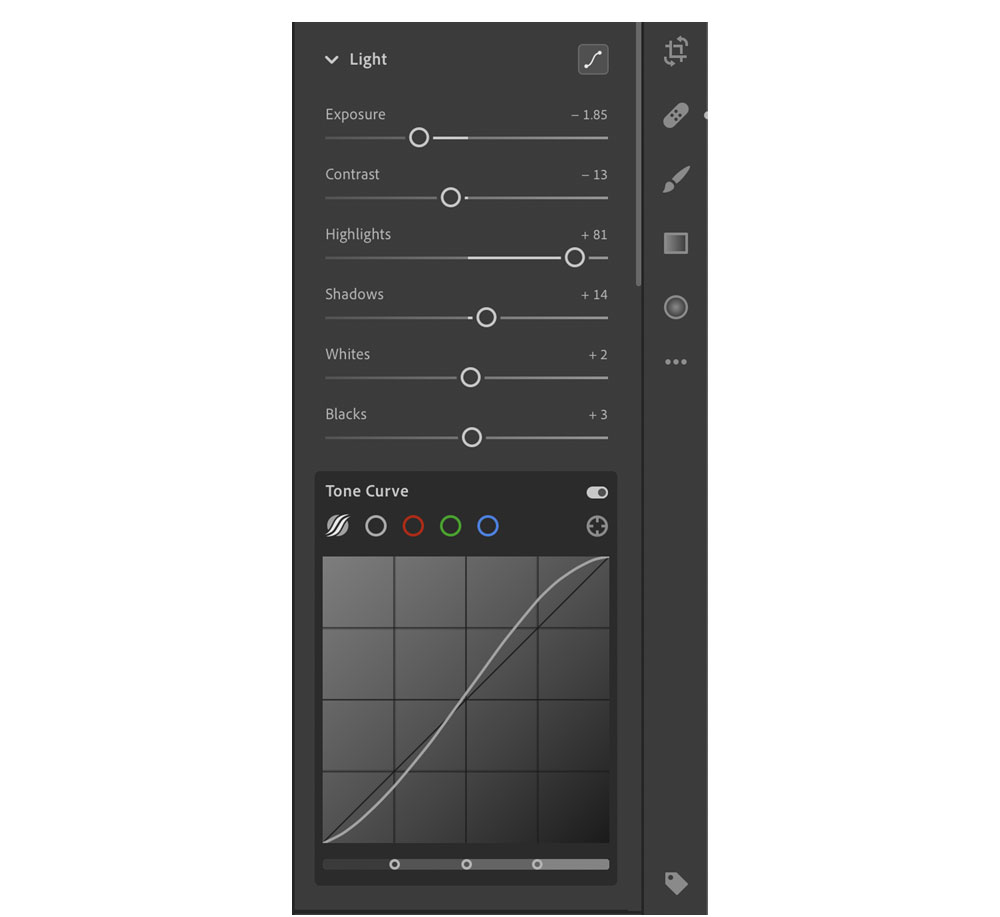
- All it takes is the right light. Next move into light and exposure edits, chances are something here will need to be changed.
Click on the adjustments icon and work your way down from top to bottom. If you want a slightly more advanced, but more holistic approach to the adjustments open up the tonal curve settings.
Remember, the goal is to make your photo as life-like as possible. When you adjust the exposure, you are adjusting for the distortions that the camera may have added.
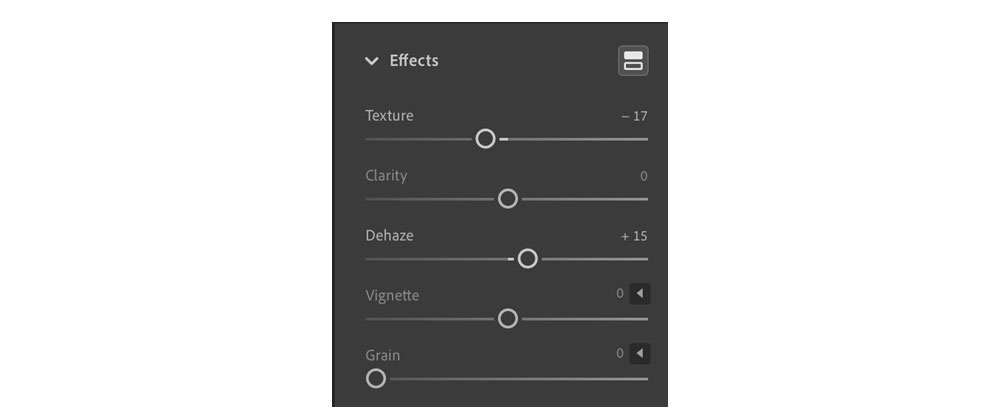
- No need to flex on the effects. After you’ve reached a satisfying equilibrium with your exposure, scroll down to effects. This is where things tend to get a bit crazy. When it comes to Adobe Lightroom effects, less is more. A few notches on texture or a little dehaze can add a lot to your grad photos. But if you get to the point where you are having to crank the dial past eleven, you might want to fix some of the details on Photoshop.
- Subtlety is key in color corrections. Finally you should take a second to make sure the white balance, the color of the photo, is just the way you like it. The best practice here is to make the color look as close to the actual light in which it was taken as possible. If you go overboard with the warmth or with highly stylized colors you may lose some of the timeless appeal of a graduation photo.
- Run wild. Don’t be afraid to play around. Adobe Lightroom has many different techniques to make your graduation photos exactly what you want them to be. Spend some playing around with new functions. Brushes will help you retouch specific parts of your photo. For example, maybe the background becomes overexposed when your face exposure is just right; you can use a brush to target exposure to specific regions of the photo. Pretty much any adjustment you want to make can be found in either Adobe Lightroom or Photoshop. So have fun with it!
- Rinse and repeat. Finally, you’ve done everything you can possibly do for your photo, and now you get to use one of my favorite Adobe Lightroom functions. Click the three dots on the right side of the screen and copy the edit settings of your photo, then paste them on any photo you think has similar editing needs. Or simply use the keyboard shortcuts for copy and paste. You can also copy some of the edit settings, while leaving others behind. Remember, there is no one-size-fits-all in photo editing, so you still may have to make some adjustments. Hopefully this feature will allow you to batch edit more efficiently.
- Bask in your own beauty and accomplishments. You're a graduate! You look amazing! You edit your own photos! What can’t you do? Congratulations and happy editing!
Discover more editing tutorials and software through the Adobe Creative Cloud. Are you a current student? See how you can save up to 60%.