
Learn how to use Premiere Pro to add fun edits to your video shots. You view the world through a cinematographic lens — factory smoke stacks lining the horizon and people walking down a sidewalk are stories waiting to be told. You may not study film at school, but you have always had a passion for movies. With Premiere Pro, you can bring your artistic vision to life. Check out basic editing techniques here before reading on for some tricks to making your compiled shots more interesting using Premiere Pro.
- Making shots black and white
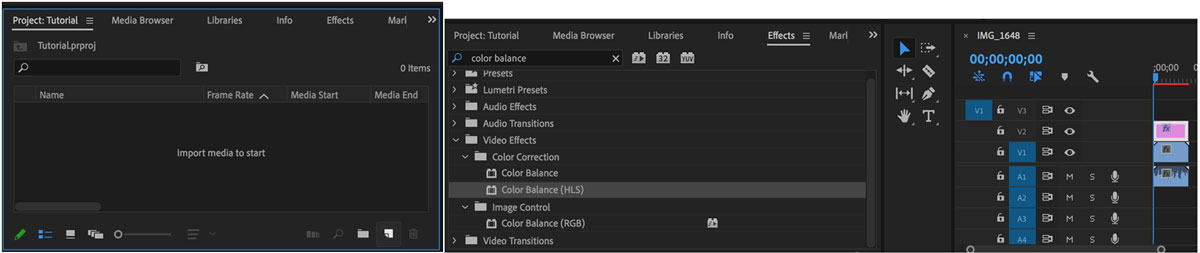
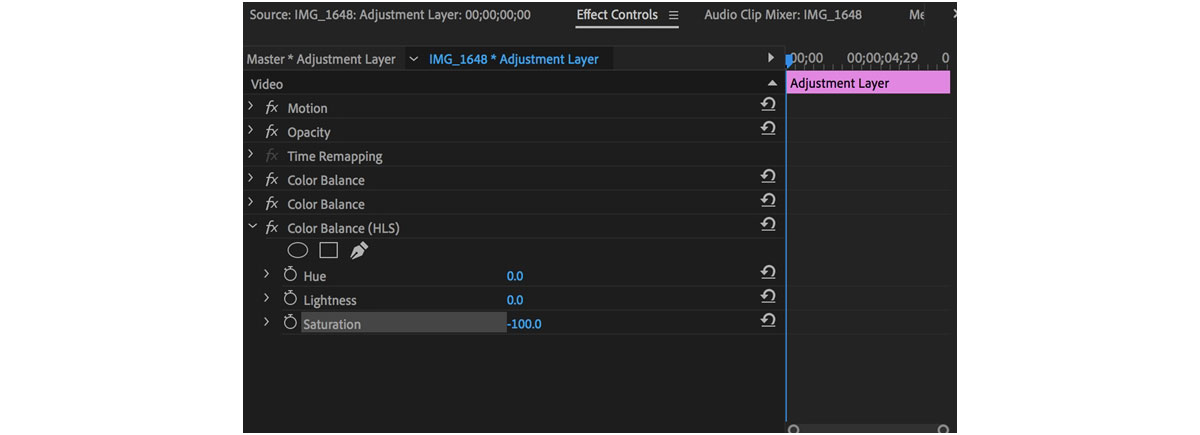
Opting for an arthouse vibe? Once in the Editing tab of your project, click New Item in the bottom left section of the window. Select Adjustment Layer, then drag the layer over the clip you want to apply the effect to. With the layer highlighted, go to the Effects tab and search “color balance.” Drag the Color Balance (HLS) effect onto the layer.
- Inserting your own sound
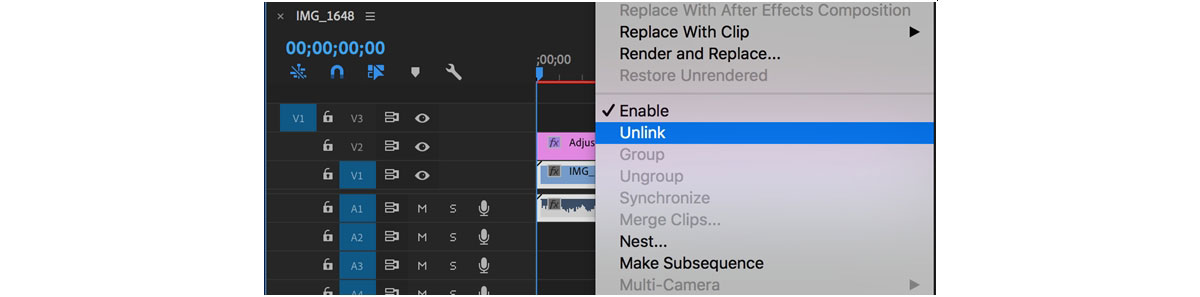
To mute background sound in your shots and include your own sound — voiceover, musical, or otherwise — select the grouped audio/video in the lower right section of the window. Control + Click and select Unlink. Then, select the audio file and delete it. You can now insert or record your desired audio to accompany the video.
- Creating a title card Select the clip where you wish to place the title. In the navigation bar, go to Graphics > New Layer > Text. A text box will appear on your video where you can type the title of your movie, arrange it wherever you want, and determine the length the title will remain on screen in the timeline.
- Adding blur
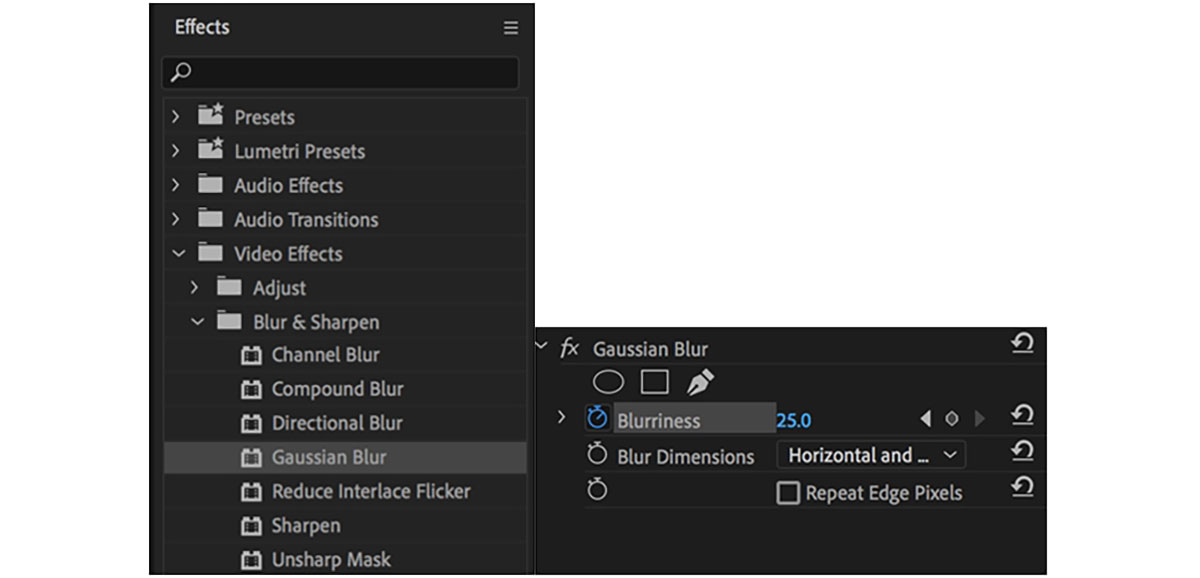
Is your character perhaps waking up disoriented? To add a blur effect to your clip, go to the Effects tab > Video Effects > Blur & Sharpen, and double click Gaussian Blur. Then, in the upper left section of the window, open Effect Controls. In Effect Controls, you can manage how blurry you want the video by entering values in Blurriness. You can also animate the blur effect by the timer icon next to Blurriness.
Now that you have a few tools for funky video editing up your sleeve, check out how you can save up to 60% on Premiere Pro and the rest of Adobe Creative Cloud.