
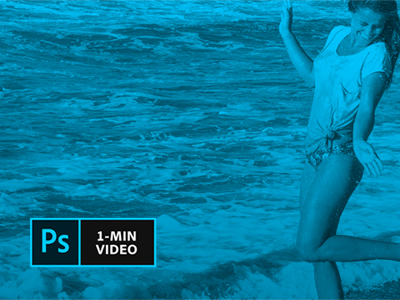
Prepare for your college career by creating a photography portfolio using Adobe Photoshop and Adobe Portfolio. This is the time of the year many high school and college seniors spend reflecting on their accomplishments over the past four years. If you were involved in high school journalism or photography, you might be going through your hundreds of photos thinking about which ones you want to put in a portfolio before you go to college in the fall. With Adobe Photoshop and Adobe Portfolio, you can edit and retouch your photos and create an online gallery ready for you to show off the first day of college or your family and friends. Here are a few steps to get you started.
- Pick out your favorite photos to be used in your portfolio. Open the photos in Photoshop. Each individual photo will appear in it’s own window. To go back and forth between the photos, simply select the one you want to work on at the top of the window.
- Create a new layer. On the right side of the screen, there is a section called Layers. If the section isn’t there, go to the bar on the top of the page, click Window, then select Layers. Click on that to see the layers on your image. You should only have the background image to begin with. Add a new layer to keep your edits on the layer, instead of the original image. This will make it easier to delete the edits if you end up wanting to start over.
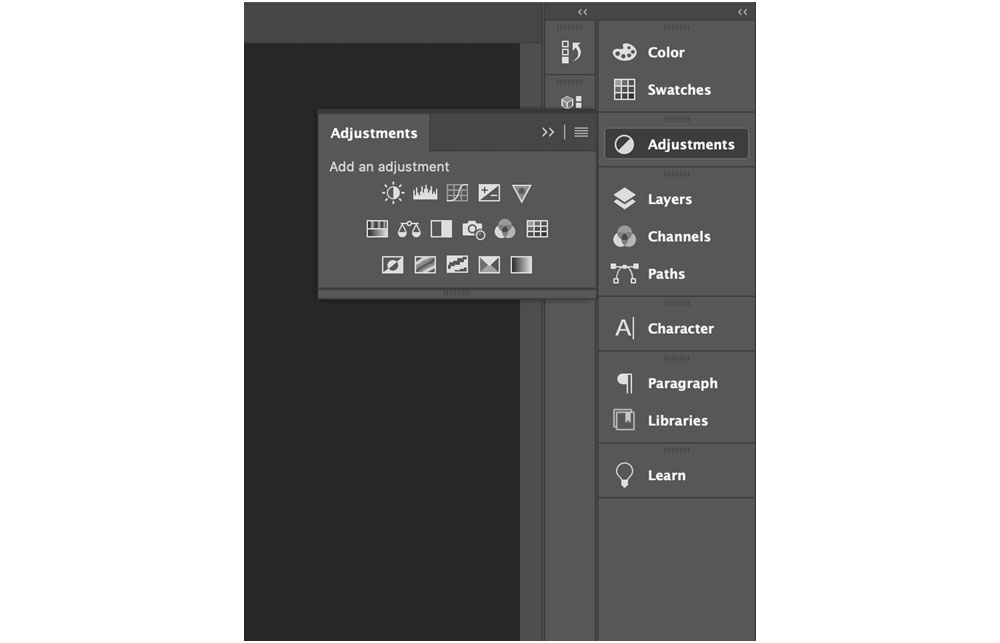
- Start with basic edits. Near the Layers section, there should be a section called Adjustments. If it isn’t there, go to Window, then select Adjustments to view it. In this section, you can find all of the basic editing tools you will need.
- Get creative! Once you have the basics done, get creative! There are so many things you can do to your photos in Photoshop, including adding filters, changing the photo to be black and white, and more. The possibilities are endless.
- Put together your portfolio using Adobe Portfolio. If you currently have a subscription to Adobe Photoshop and Lightroom or Adobe Creative Cloud, you will also have access to Adobe Portfolio! Log on to myportfolio.com to get started. You can choose from a variety of templates to begin your online portfolio. Once you have a template selected, you can upload your photos and other visual work, then share your portfolio with friends, family and classmates.


Brightness/Contrast allows you to increase or decrease the brightness and contrast in the photo. Levels and Curves allow you to adjust the highlights, midtones and shadows of the image. Levels uses a histogram, while Curves uses a curved graph. Exposure allows you to adjust exposure and gamma levels in the photo. Vibrance, Hue/Saturation and Color Balance allow you to adjust the colors of the photo. Vibrance is used to increase or decrease the vibrancy of the colors. Hue/Saturation is used to make the colors stronger or lighter and adjust the hue of the colors. Color Balance lets you shift the color spectrum.
Discover more ways to create a photography portfolio with Adobe Spark and Adobe Portfolio, or create a student portfolio all your own with Adobe Creative Cloud. Are you a current student? See how you can save up to 70%.